Introduction
We have implemented a text-based easy installer khổng lồ help install Android-x86 to a hard drive. These filesystems are supported: ext4 ntfs fat32In particular, you can install Android-x86 lớn an NTFS filesystem lớn co-exist with Windows. See the Advanced Section for more details.
Bạn đang xem: Hướng dẫn cài android x86
Step by Step
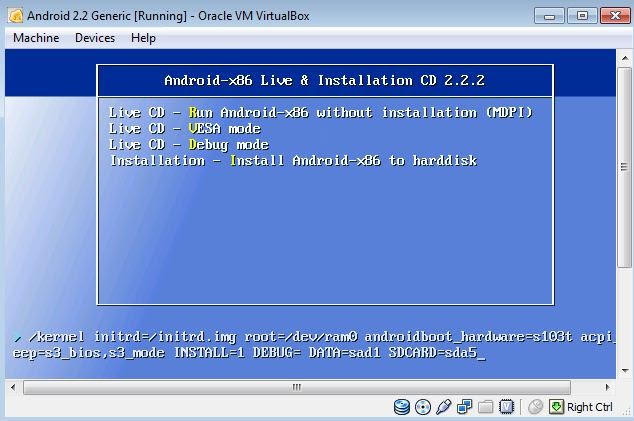
Boot from the Android-x86 installation CD/USB, choose the "Install Android-x86 lớn harddisk" item, as shown below:


Upgrade
You may upgrade an older Android-x86 installation by the installer. Just select the partition containing the older installation. The installer will prompt if you"d lượt thích to nâng cấp it:

If there are multiple older versions in the same partition, the installer will ask which version to lớn upgrade:

Auto Installation
If you want to lớn use Android-x86 as the only OS in your device, you may choose "Auto Installation" under the "Advanced options".

The installer will prompt you to confirm:

After you select "Yes", the installer will erase the whole content of the hard disk, partition and install Android-x86 to lớn it.
If you have multiple hard drives, the installer will let you choose which one lớn use. Be careful lớn choose the correct one.

Auto Update
By choosing "Auto Update" under the "Advanced options", the installer could update an older installation automatically.

In this mode, the installer searches a partition named "Android-x86" or the first ext4 partition, và update the older installation in it automatically. If no such a partition is found, the auto update mode will be cancelled.
Other boot options
Live CD - Run Android-x86 without installationThe thành công means lớn boot Android-x86 directly. This is useful to kiểm tra if your hardware is compatible with Android-x86 quickly. All data is stored in RAM (tmpfs) and will thất bại after poweroff.
Xem thêm: Chat video với người lạ apk (android app), người lạ ơi
Live CD - Debug modeSee the debug howto for more details.
Live CD - Vulkan tư vấn (experimental)Enable the experimental Vulkan support. Not all GPUs tư vấn it.
Live CD - No cài đặt WizardSkip the setup Wizard. It"s useful if you want to kiểm tra some apps quickly in live mode.
Live CD VESA mode - No GPU hardware accelerationDisable GPU hardware acceleration. If you encounter black screen after booting, you may try this mode to lớn see if it"s bootable.
AdvancedCreate a bootable USB stick for Android-x86
There are several tools which could be used khổng lồ create a bootable USB stick for Android-x86. The following tools are available for Windows users:
For Linux users, just use the standard dd command like:
where /dev/sd
X is the device name of the target USB disk.
Multi-Boot
To boot other operating systems, you have to showroom items for them to lớn /grub/menu.lst. For example, to lớn boot Windows, add the following:
This assumes Windows is installed to lớn the first partition of the first hard disk. Alternatively, you need khổng lồ change rootnoverify to the appropriate value. See Grub Manual for details.
Updated (2010)
Since froyo-x86, if there is an NTFS partition in the installed disk, the installer will ask if you want to create a boot nhà cửa for Windows, as shown below.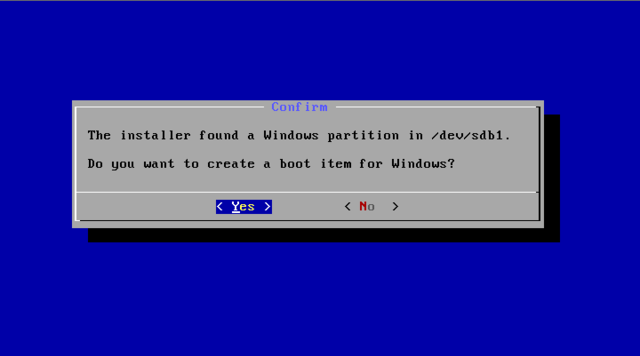
VMware
You have to lớn change your virtual disk type to lớn be IDE because the mặc định type in VMware is SCSI, and Android-x86 kernel is not configured to tư vấn SCSI. You can follow these steps:
Create a virtual machine. Edit virtual machine settings after the virtual machine created. Choose the hard disk và remove it. địa chỉ cửa hàng a hard disk to lớn create a new virtual disk, then you can choose IDE as your virtual disk type. When finished, you can install android-x86 normally.Chạy ứng dụng game android trên laptop tại sao không? ai đang cần sử dụng một ứng dụng trên căn nguyên Android bằng máy vi tính nhưng vận dụng đó lại không có trên sản phẩm tính. Đừng băn khoăn lo lắng hãy gọi ngay nội dung bài viết này từ Sửa chữa laptop 24h .com để tải những ứng dụng Android trên máy tính nhé.
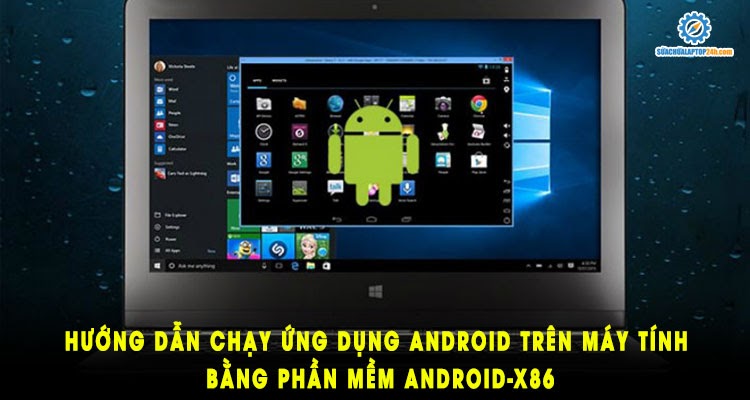
HƯỚNG DẪN CHẠY ỨNG DỤNG game android TRÊN MÁY TÍNH BẰNG PHẦN MỀM ANDROID-X86
Nếu bạn đang yêu thương thích tốt cần sử dụng một ứng dụng app android trên máy vi tính nhưng phần mềm đó lại sở hữu phiên phiên bản không cung cấp Windows. Bạn băn khoăn vì do dự phải làm phương pháp nào để trải nghiệm. Đừng lo ngại bạn trả toàn rất có thể sử dụng ứng dụng bên thiết bị 3 để chạy ứng dụng game android trên máy tính xách tay của mình.
Trong nội dung bài viết ngày bây giờ Sửa chữa máy tính 24h .com đã hướng dẫn cho chính mình “Chạy ứng dụng android trên máy tính xách tay bằng ứng dụng ANDROID-X86”.
Hướng dẫn chạy ứng dụng android trên máy tính bằng phần mềm Android - X86
Sử dụng ANDROID-X86 để chạy phần mềm Android trên máy tính
Android-x86 là 1 trong những hệ điều hành quản lý dựa trên nền tảng Linux được thiết kế theo phong cách dành cho các thiết bị PC (x86). Android-X86 mang đến phép bạn có thể tùy chỉnh theo ý thích. Android-x86 bao gồm thêm nhiều chức năng như quản lý ứng dụng thông minh hơn, chọn văn bản thông minh cùng trang bị Open
GL ES 3. Trở lên để tăng tốc phần cứng cho bối cảnh của Intel, AMD giỏi Nvidia …
Để thiết đặt Android-x86 các bạn hãy làm theo các bước như sau:
Bước 1: truy vấn vào links sau để tải: Tải Android-x86, lưu ý ổ cứng thiết bị của người sử dụng phải tất cả tối thiểu 2GB.
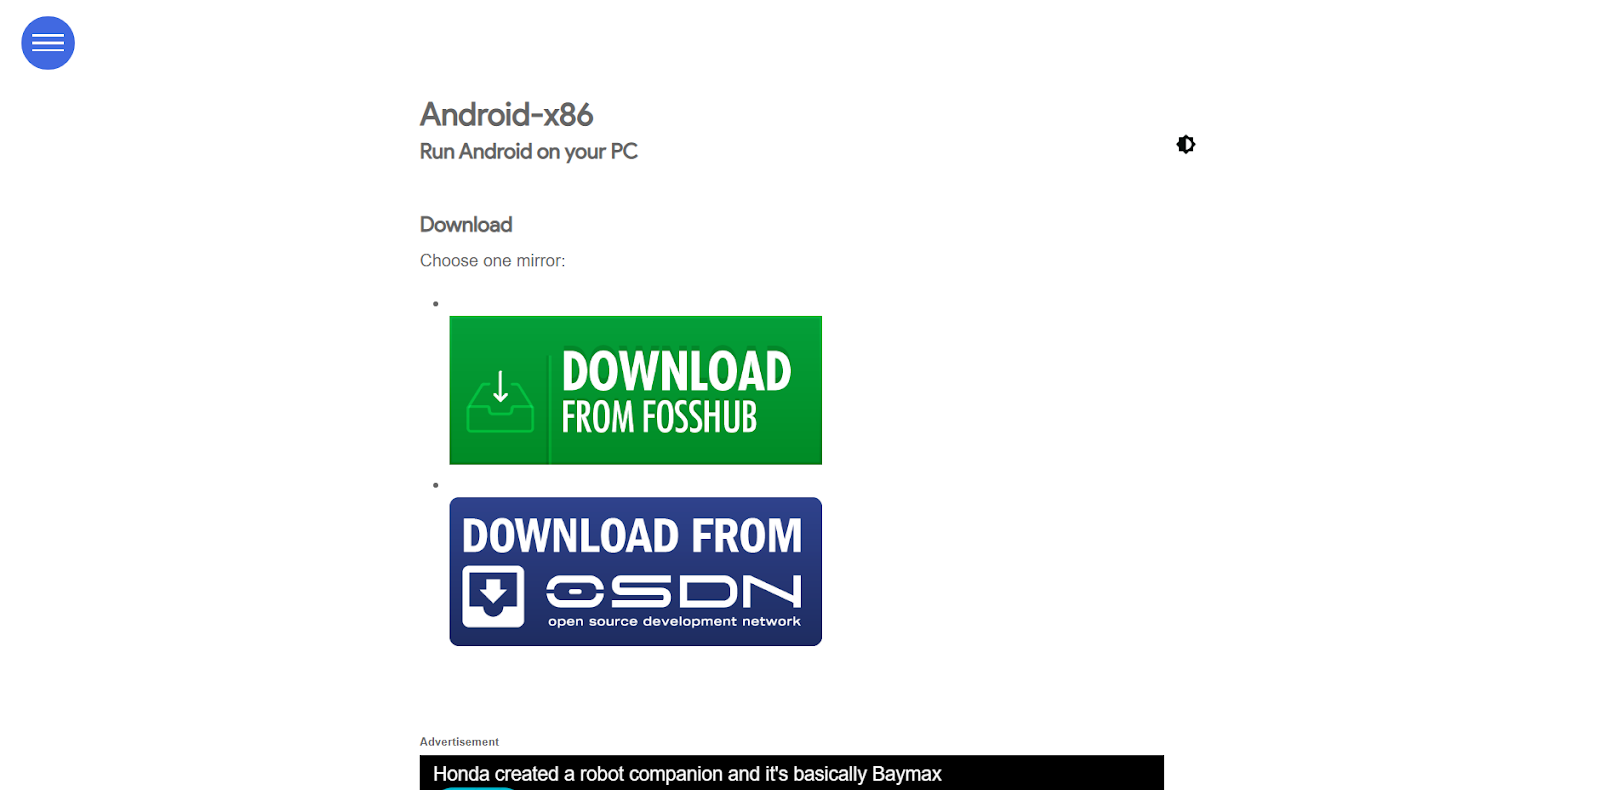
Trang chủ download về Android-x86
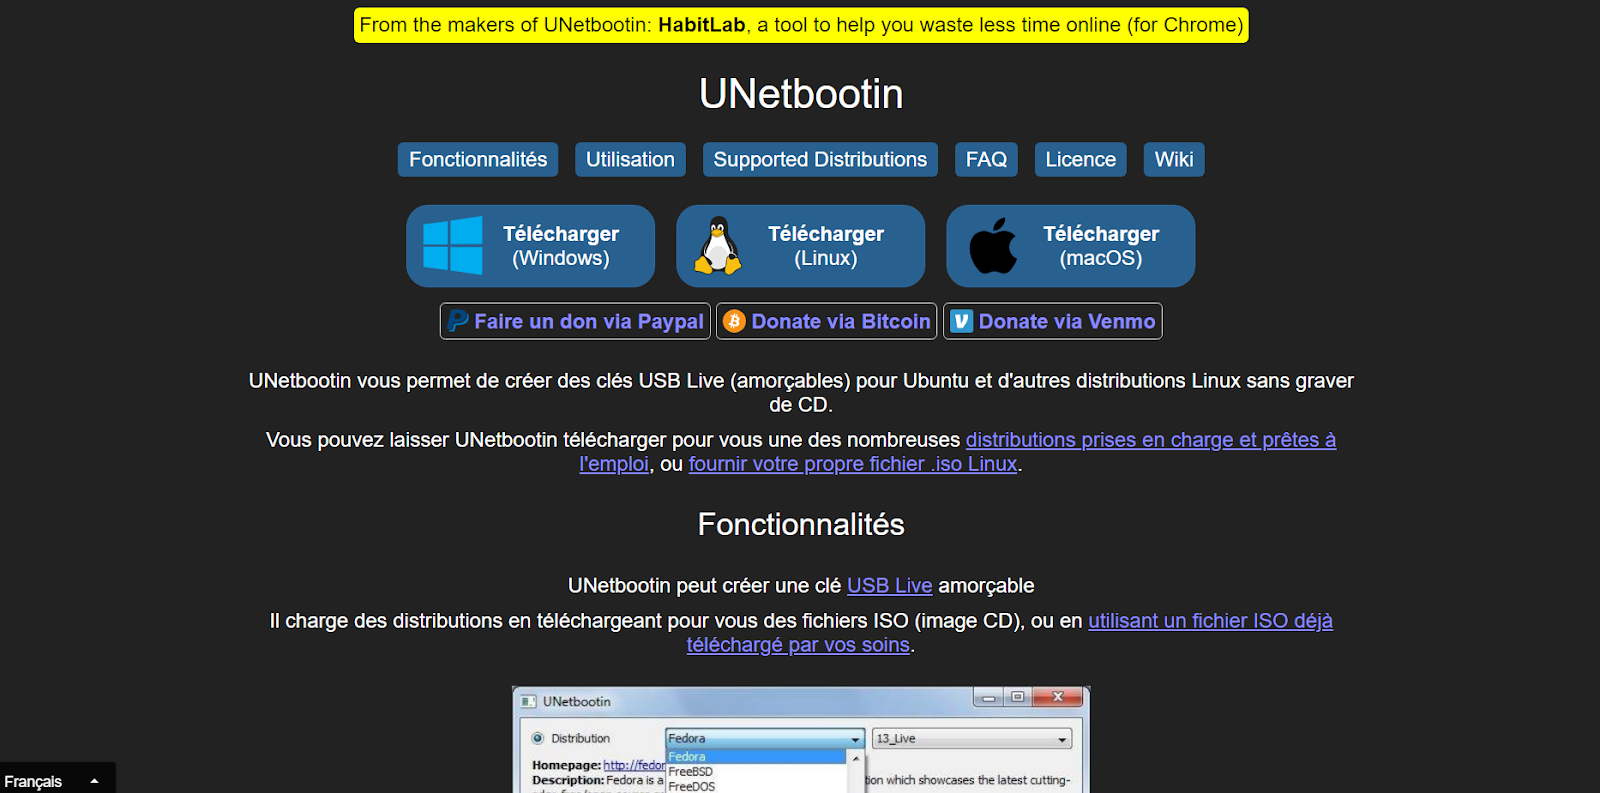
Bước 2: Tiếp đó sở hữu về UNetbootin bằng cách truy cập vào liên kết sau: Tải UNetbootin. Khởi rượu cồn UNetbootin và chọn Android-X86 các bạn vừa cài về. Tiếp theo chọn USB của người sử dụng và dìm OK. Hóng UNetbootin cài đặt Android-X86 lên USB của bạn.
Bước 3: các bạn hãy restart lại thiết bị tính của chính mình và chọn Boot to lớn the Boot Device Selection rồi lựa chọn USB. Ở UNetbootin rồi lựa chọn Install Android-X86 khổng lồ hard disk.
Bước 4: Tiếp theo chúng ta phân vùng hoặc add mà bạn có nhu cầu cài Android-X86. Khối hệ thống sẽ hỏi liệu bạn muốn format ổ đĩa không, nếu như bạn không kiên cố thì không bắt buộc làm.
Bước 5: hệ thống sẽ hỏi các bạn có muốn thiết đặt GRUB không. Các bạn chọn Yes với nhấn Yes lần nữa. Khối hệ thống sẽ hỏi bạn vẫn muốn “make system r/w” điều này sẽ có thể chấp nhận được Android-X86 của chúng ta có thể đọc và nhập tài liệu lên ổ cứng của người tiêu dùng rồi nhấn chọn Yes.

Cửa sản phẩm Google Play
Trên đây
Sửa chữa máy tính xách tay 24h .comđã chia sẻ đến chúng ta “Hướng dẫn chạy ứng dụng android trên laptop bằng ứng dụng ANDROID-X86”. Chúc bạn thành công xuất sắc và có những trải nghiệm tuyệt vời. Đừng quên theo dõi và quan sát những nội dung bài viết hữu ích từ Sửa chữa laptop 24h .com nhé!
Yêu cầu dịch vụ(*)Đến cửa ngõ hàng
Sửa trên nhà
Chọn thời hạn sửa(*)8h00-9h009h00-10h0010h00-11h0011h00-12h0013h00-14h0014h00-15h0015h00-16h0016h00-17h0017h00-18h00Chọn bỏ ra nhánh(*): Số 5 ngõ 178 Thái Hà, Đống Đa, Hà Nội
Số 8 hồ nước Tùng Mậu, ước Giấy, Hà Nội
Số 206 Lương cố kỉnh Vinh, Thanh Xuân, Hà Nội
Số 11 vấp ngã tư Nhổn, trường đoản cú Liêm, Hà Nội
Số 220 Thái Hà, Đống Đa, Hà Nội
Số 128 Lê Thanh Nghị, Bách Khoa, Hà Nội
Số 32K Lý nam giới Đế, trả Kiếm, Hà Nội
Số 417 Cổ Nhuế, trường đoản cú Liêm, Hà Nội
Số 283/45 CMT8, Phường 12, Quận 10, TP.HCMSố 31 hồ nước Tùng Mậu, cầu Giấy, Hà Nội
Số 297 Lương Ngọc Quyến, TP Thái Nguyên
Số 176 Lê Thanh Nghị, Bách Khoa, Hà Nội
Số 284 quang quẻ Trung, Hà Đông, Hà Nội
Số 448 quang quẻ Trung, P.10, Quận đụn Vấp, TP.HCMSố 87 quán Nam, Lê Chân, TP. Hải Phòng
Số 126 miếu Láng - Đống Đa - Hà Nội
Số 24 Nguyễn Xiển, Thanh Xuân, Hà Nội
Lô số 6, siêu thị House Đại Hoàng Sơn, P.Ngô Quyền, TP. Bắc Giang
Số 118 Lạc Long Quân, Tây Hồ, Hà Nội
Số 475 Nguyễn Văn Cừ, Long Biên, Hà Nội43/68 Trung Kính, lặng Hòa, cầu Giấy, Hà Nội349 Mê Linh, Liên Bảo, Vĩnh Yên, Vĩnh Phúc356 Thân Nhân Trung, Việt Yên, Bắc Giang07 liền kề D2, Đại lộ Lê Nin, TP Vinh, Nghệ An
Ki ốt 1 CT4B Linh Đàm, Hoàng Mai, Hà Nội


